Listing fields
The Fields list shows every custom field in your catalog. Use it to find a field, filter by type, open one to edit, clone it, or delete one or more at once.
Open Appointments → Catalog → Fields.
Empty list
If you have no fields yet, the table shows No results found. Use Add New to create the first one.
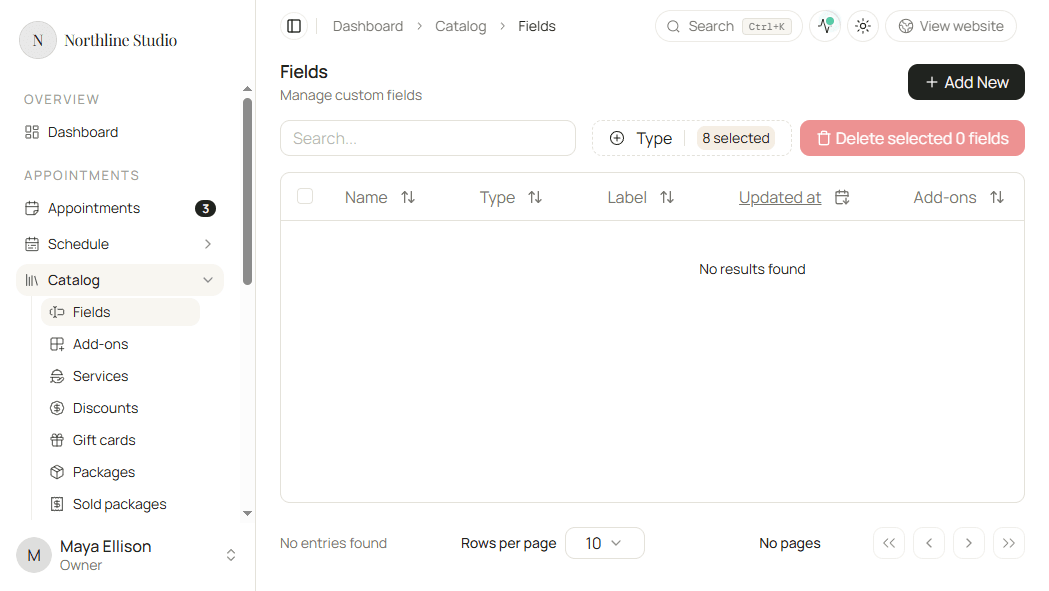
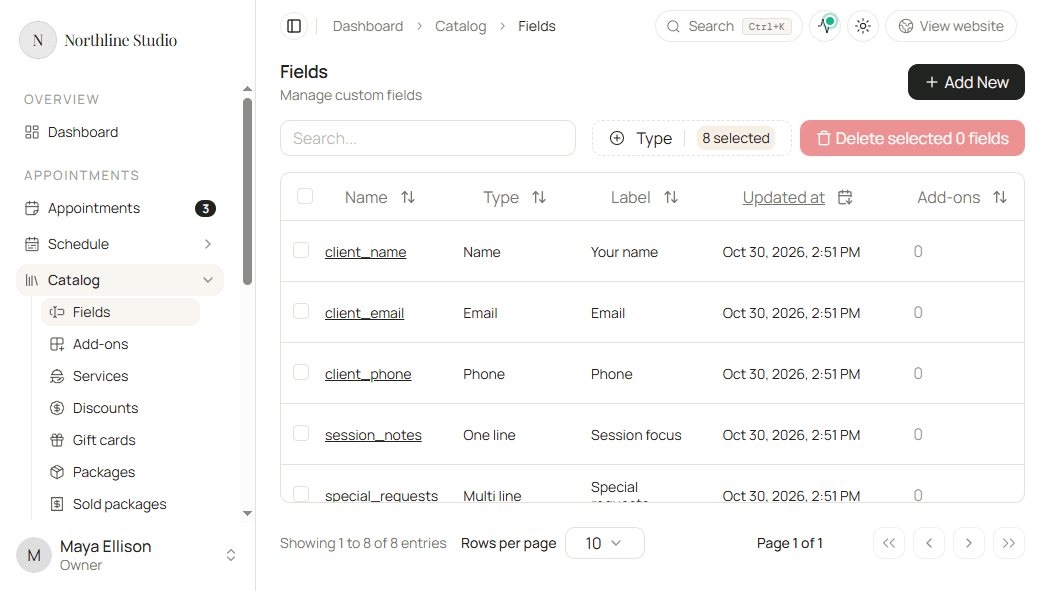
Fields list
When fields exist, each row shows Name, Type, Label, Updated at, and counts for Add-ons and Services that use that field. Click a field name to open it.
Search
- Click the Search… box above the table.
- Type part of the field name.
The list updates to matching rows. Clear the box when you want every field again.
Filter by type
- Click the Type filter above the table.
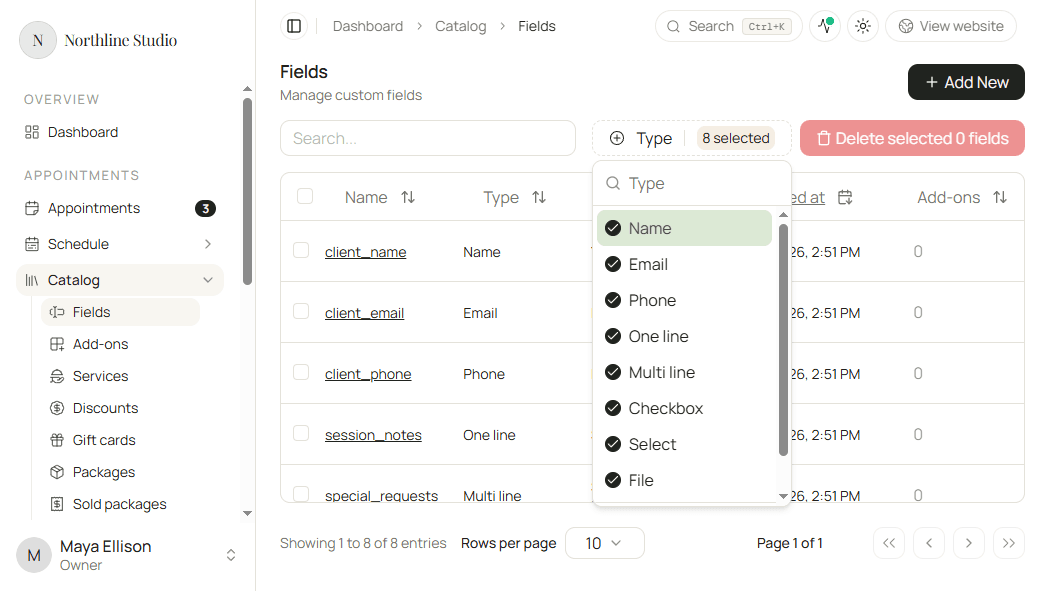
- Choose one or more types: Name, Email, Phone, One line, Multi line, Checkbox, Select, or File.
- Choose Reset filters in that menu when you want all types again.
Good to know
The filter button shows how many types are selected, such as Type 8 selected when every type is on.
Row menu
- Open the menu on a field row.
- Choose Clone, Update, or Delete.
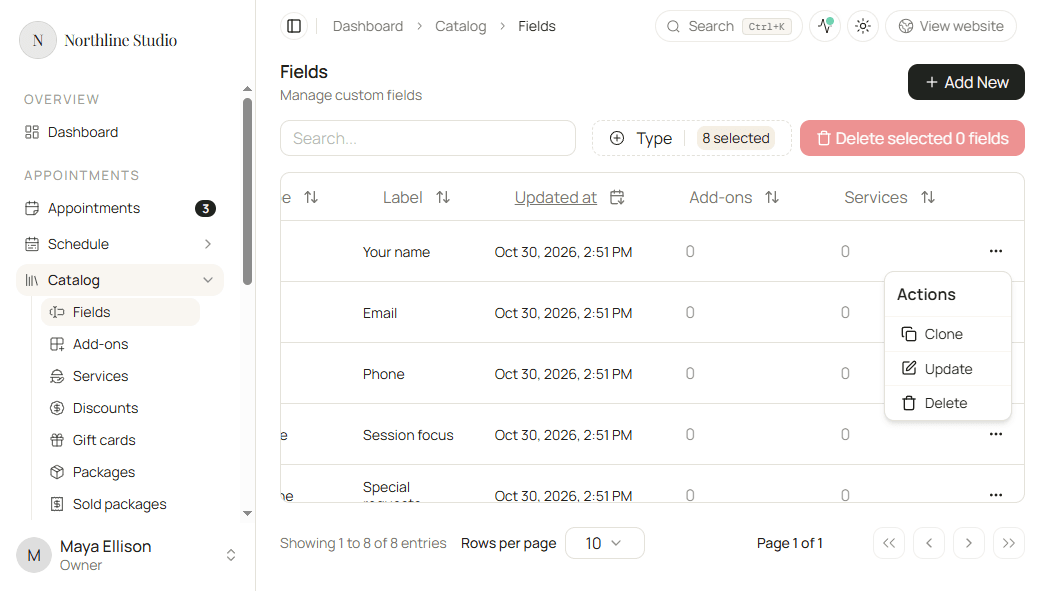
- Clone opens a new field form filled from that field so you can save a copy.
- Update opens the field for editing.
- Delete asks you to confirm, then removes the field. See Deleting a field.
Delete several fields
- Check the rows you want to remove, or use Select all.
- Click Delete selected.
- Confirm in the dialog.
The confirm text explains that selected fields are removed from every service and add-on that used them. This cannot be undone.
Good to know
Delete selected stays disabled until at least one row is checked.