Set up your workspace
After checkout, Hacado opens a short setup. A bar at the top shows where you are: Business, Services, Schedule, Connect, Payments, Website, then Done.
You can close the browser and come back later. Use the same browser, and your answers are still there.
Before you start
- You have created an account and finished checkout.
Business
This step is how clients recognize you. The name, language, and prices on your booking page start here.
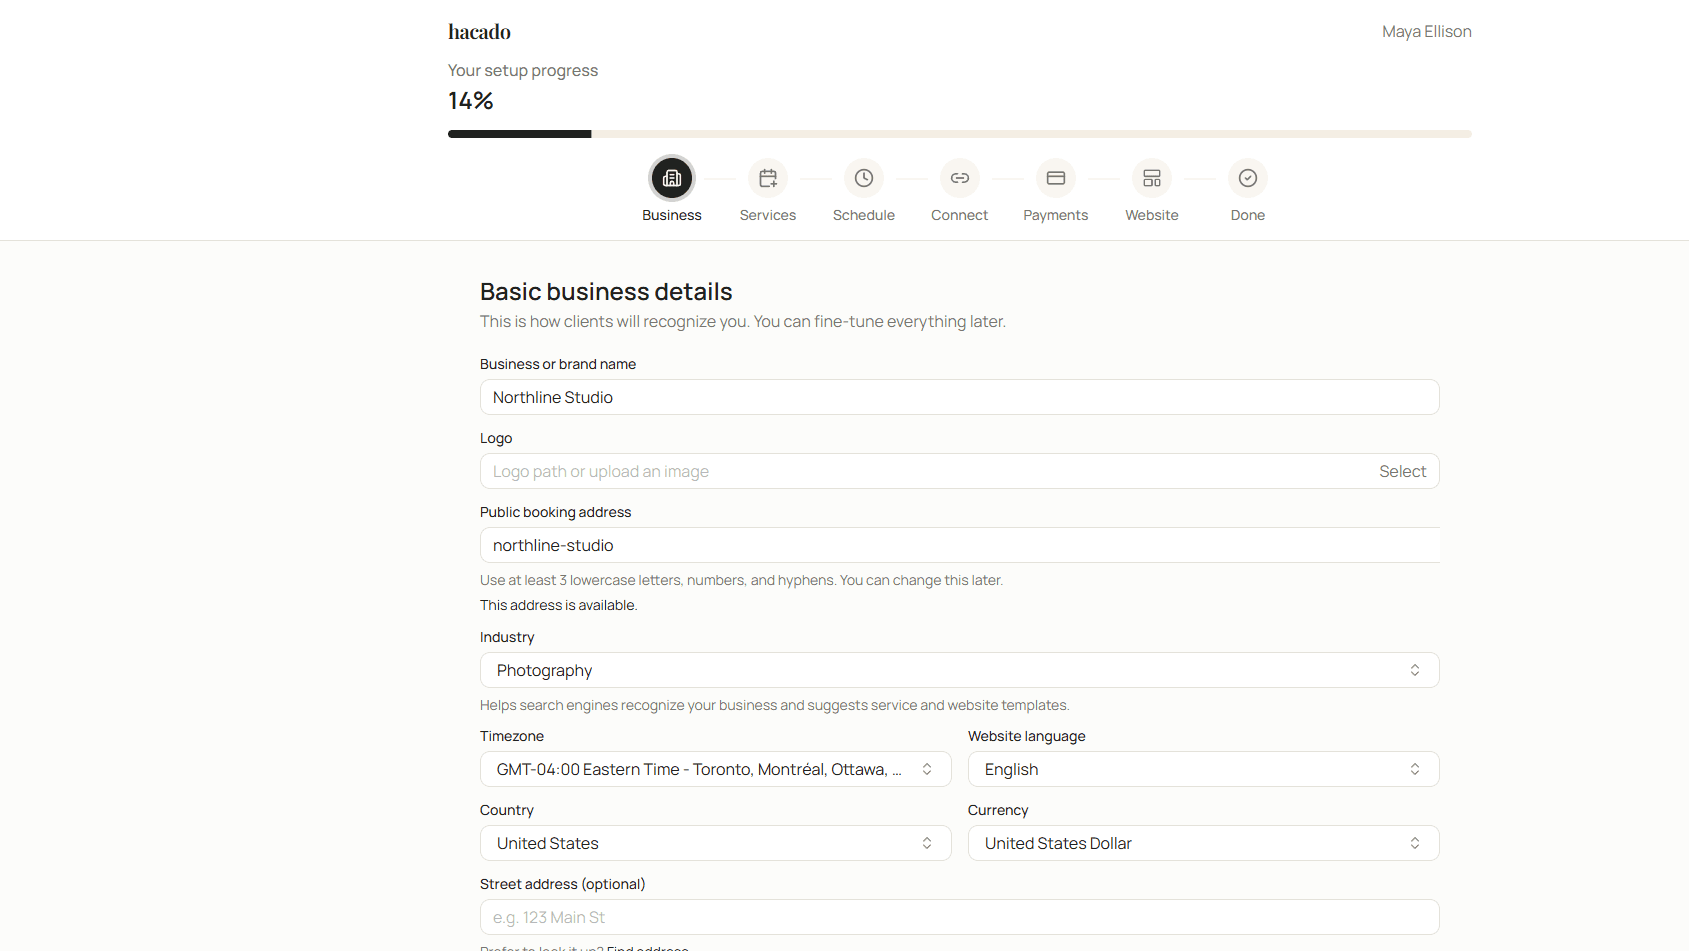
- Type your Business or brand name. This is the name clients see.
- Add a Logo if you have one. Click Select and choose a picture. You can skip this.
- Check Public booking address. Hacado fills this in from your business name. It is the short name in your Hacado web address. Change it if you want a different one. Wait until you see This address is available.
- Choose an Industry. Hacado uses this to suggest services and a website layout.
- Choose your Timezone. Appointments and reminders use this clock.
- Choose the Website language clients will read.
- Choose your Country and Currency. Prices use this currency.
- A street address is optional. Fill it in only if you want a location on the business. You can look one up with Find address, or type it yourself.
- Click Continue.
Services
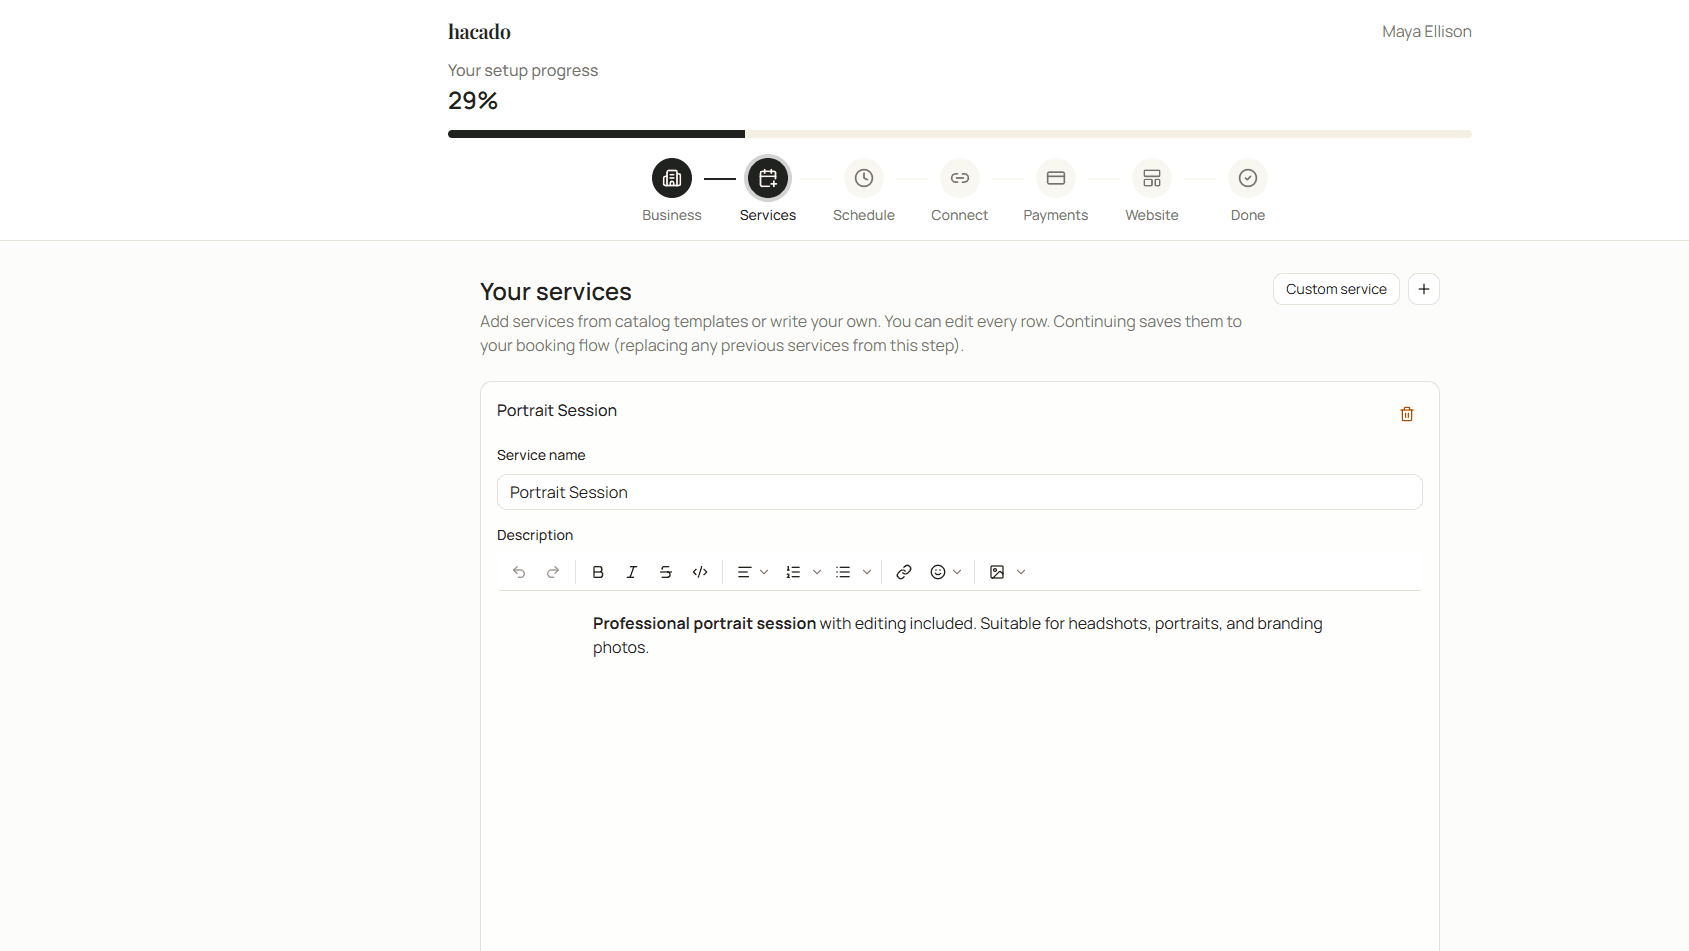
A service is something a client can book, such as a portrait session or a consultation. You need at least one before you can go on.
From template opens a dialog. Pick the kind of work you do, then pick a service. Each card shows a short description, how long it takes, and a starting price.
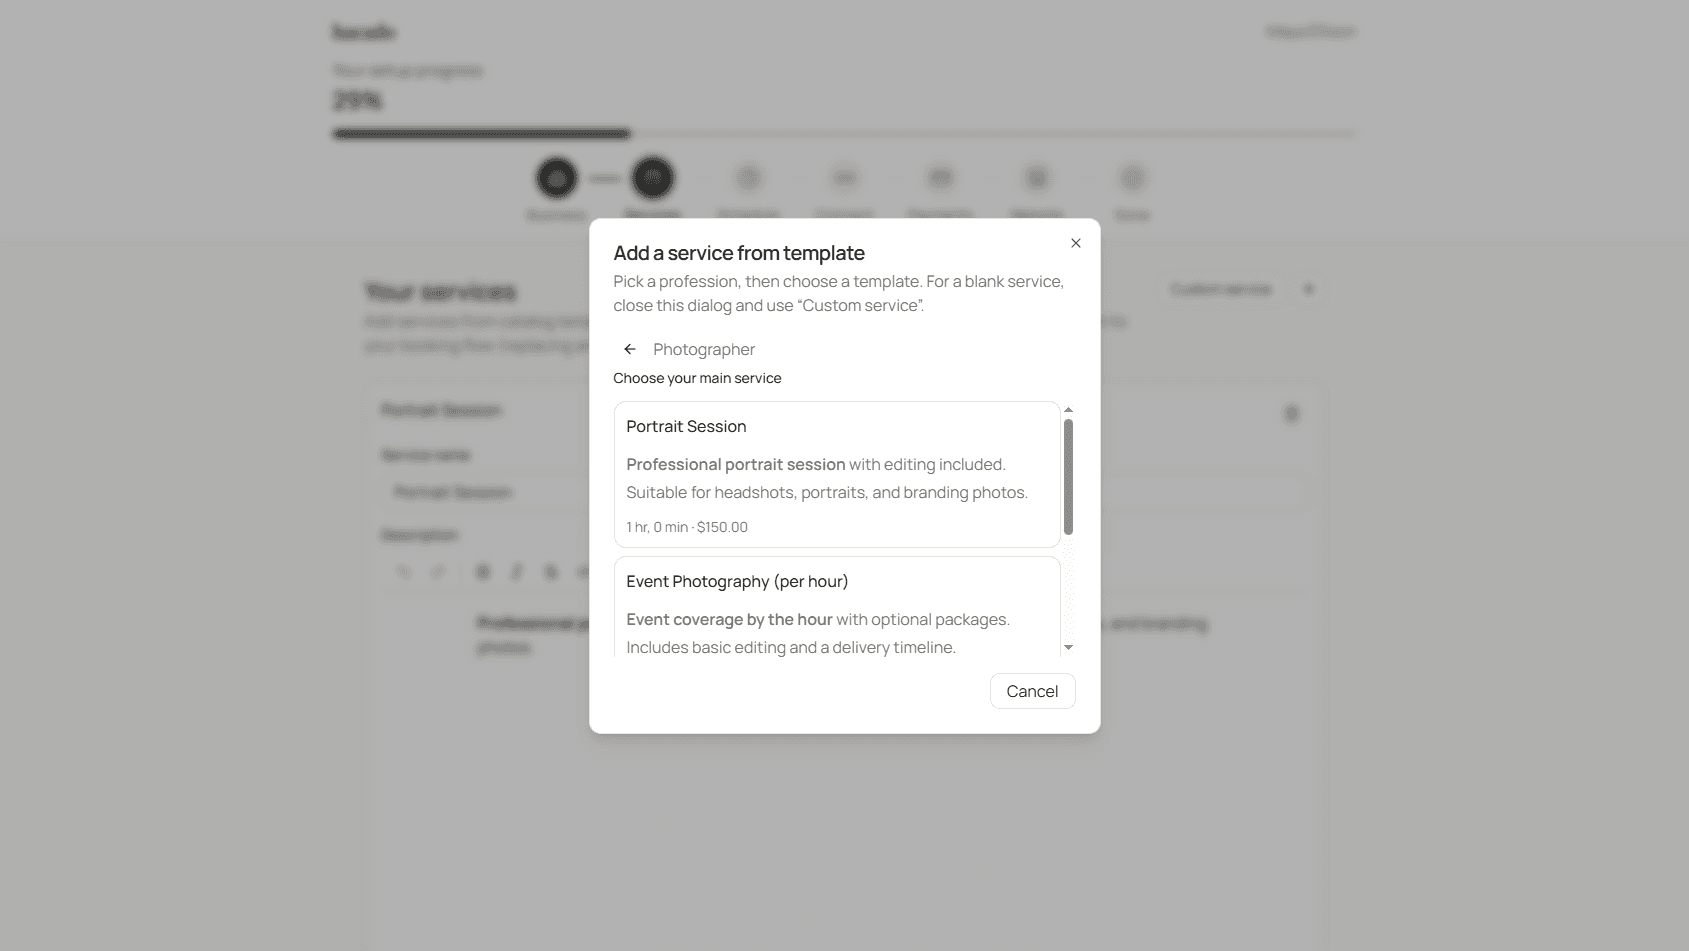
- Click From template to start from a ready-made service, or Custom service to start with a blank one.
- If you use a template, pick the kind of work you do, then pick a service. Hacado fills in a name and a description. You can change both.
- Read the form before you continue. The name, description, price, and length on this form are what clients will see.
- Under Pricing, choose Fixed total for one price for the whole visit, or Per hour if you charge by the hour.
- Set Duration in hours and minutes.
- Set Total price. Leave it empty only if the service is free.
- Click Continue.
Hacado shows Services saved to your booking flow. If you come back to this step and continue again, the services from this step are replaced with what is on the form now.
Good to know
The price on a template card and the price on the form are not always the same. Trust the form.
You can add more services later from the dashboard.
Schedule
This is when clients are allowed to book you. Hacado starts with Monday through Friday, 9:00 AM to 5:00 PM. Saturday and Sunday have no hours, so clients cannot book those days.
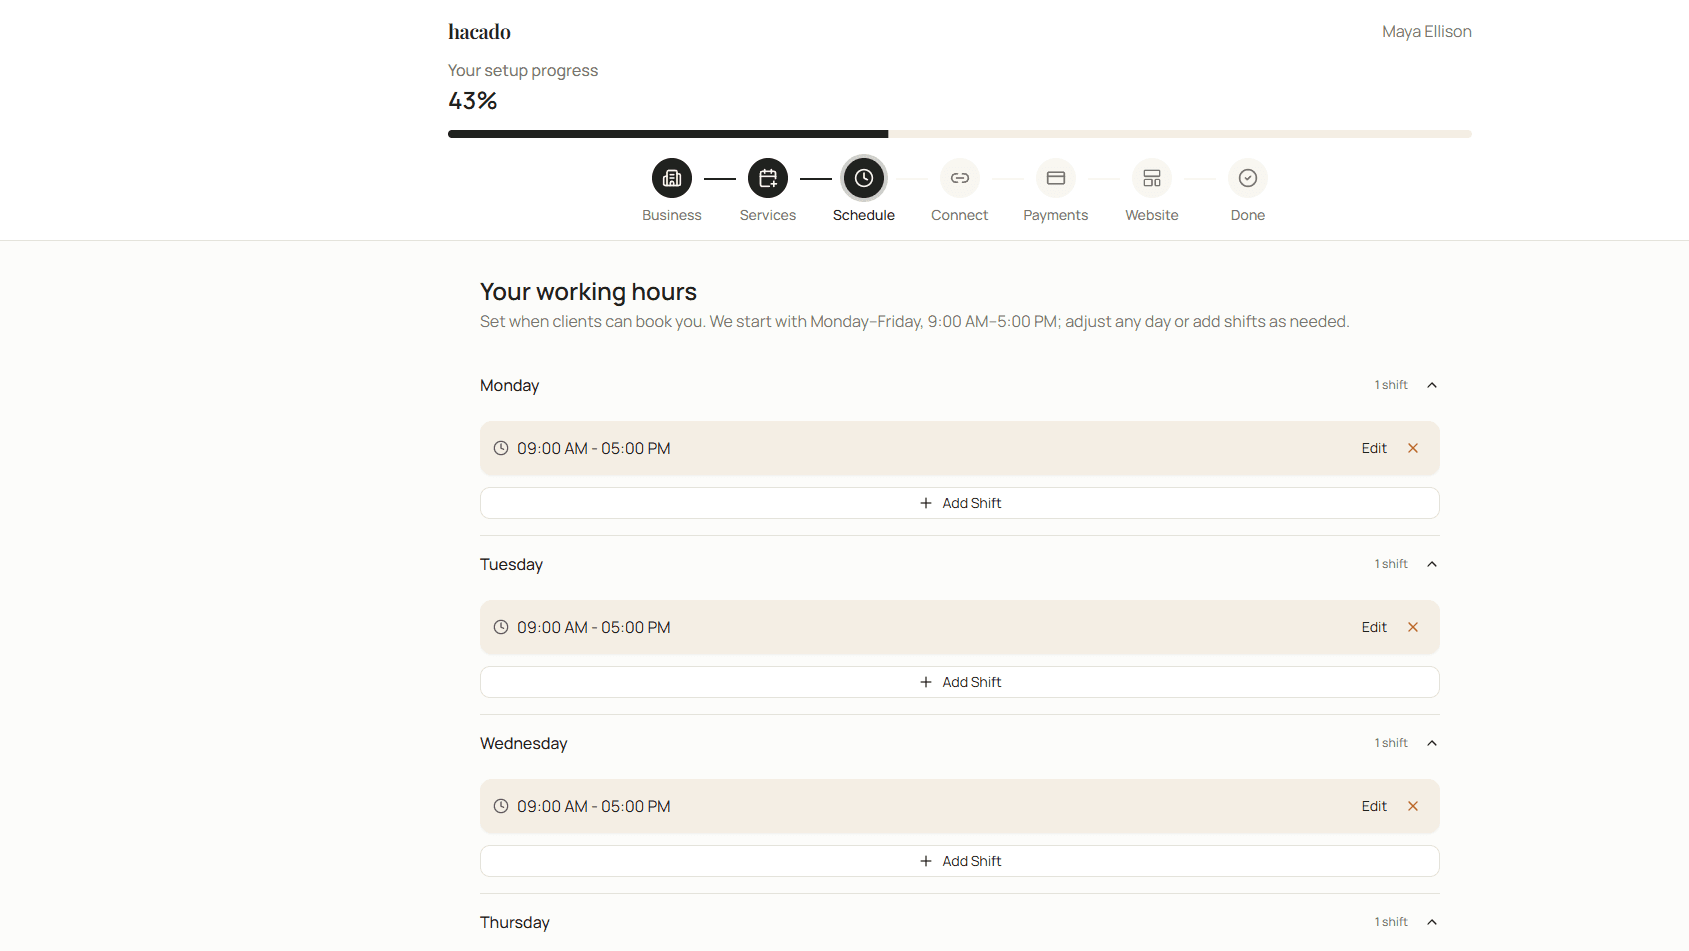
- Open a day if it is closed.
- Click Edit to change the start or end time.
- Click Add Shift if you work two separate blocks in one day, such as a morning and an evening.
- Click the red X to remove a shift. A day with no shifts is a day off.
- Click Continue.
You can change these hours later under Settings → Schedule. If your hours change from week to week, install Weekly schedule later from Dashboard → Apps.
Connect
This step links a calendar and turns on extra tools. Nothing here is required. You can leave it as it is and still finish setup.
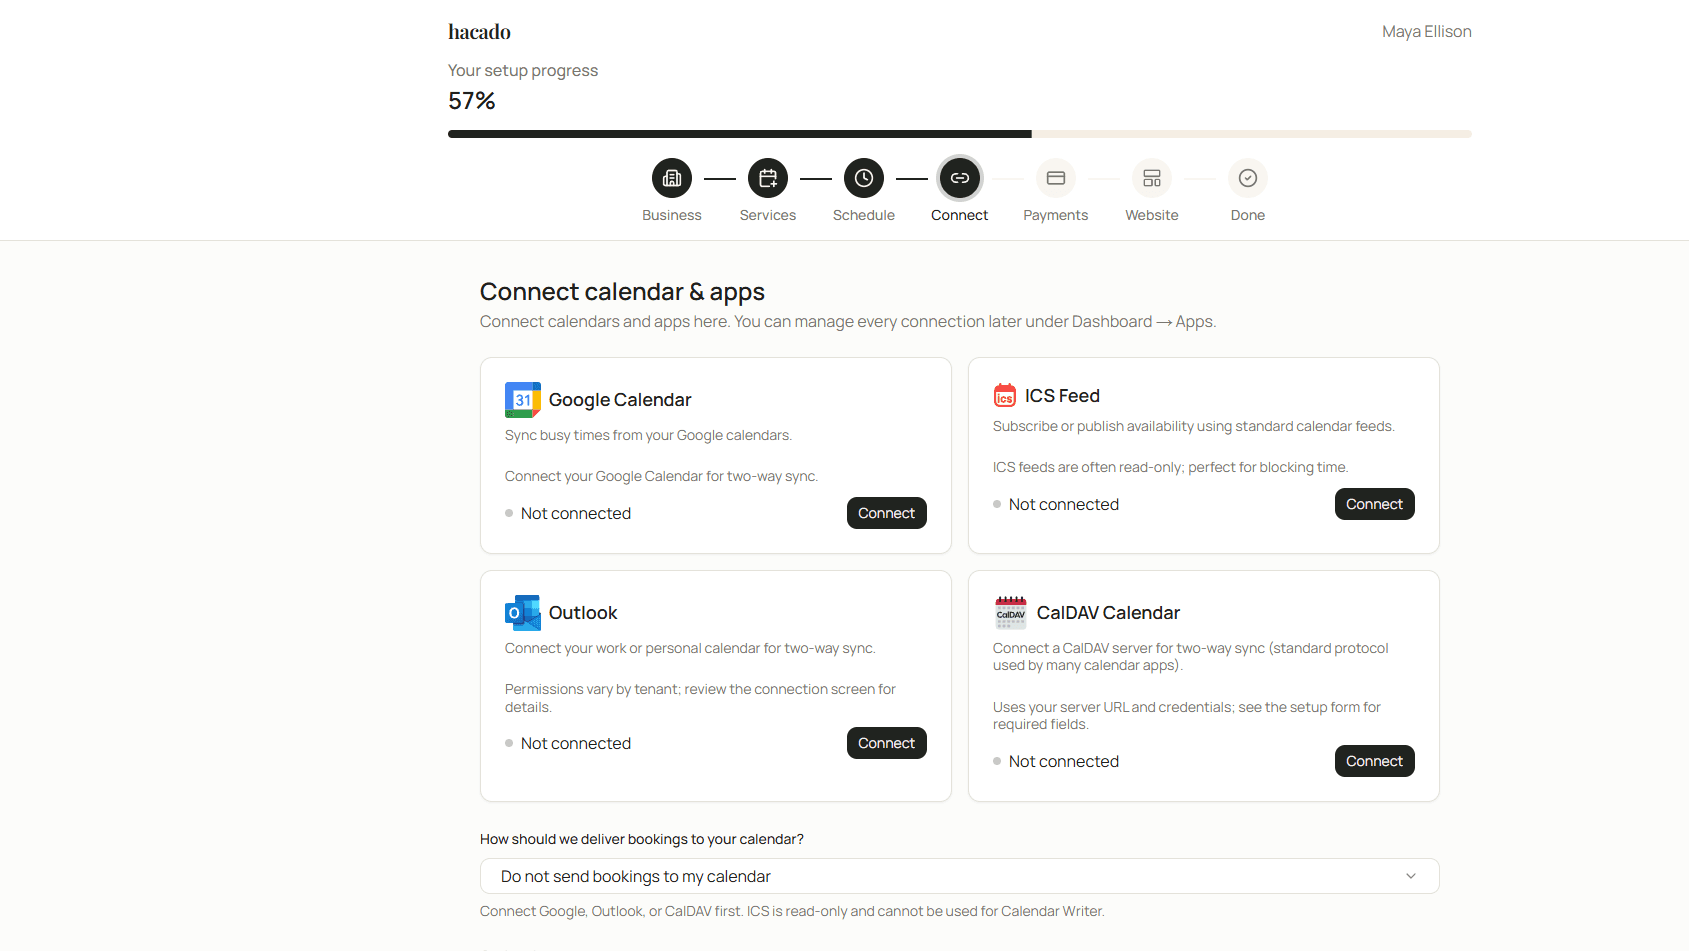
Calendars:
- Google Calendar and Outlook can add bookings to that calendar and read times when you are already busy.
- ICS Feed reads a calendar link from another app. It is usually one-way: Hacado can see busy times, but it does not write bookings back.
- CalDAV Calendar connects a calendar that uses a server address and a login.
Click Connect on the one you use, and follow the prompts. Skip them all if you do not want a calendar yet.
How should we deliver bookings to your calendar? starts on Do not send bookings to my calendar. The other choices are:
- Send bookings to my calendar by email, which emails you a calendar file you can open.
- Write bookings to my calendar directly, which needs Google, Outlook, or CalDAV connected first.
Further down, Optional apps are switches. They start off. Turn one on only if you want it now:
- Customer Appointment Updates emails or texts clients when a booking is made or changed.
- Customer package emails emails clients about prepaid packages.
- Appointment Reminders sends a reminder before the visit, and can also send a follow-up after.
- Waitlist lets clients ask to be told when a full time opens up.
- Blog, Forms, and Gift Card Studio add those tools to your site.
- My account lets clients sign in to see and change their own bookings.
Click Continue. You can change all of this later under Dashboard → Apps. See Apps.
Payments
This step decides how a new booking is confirmed, and whether the client pays online.
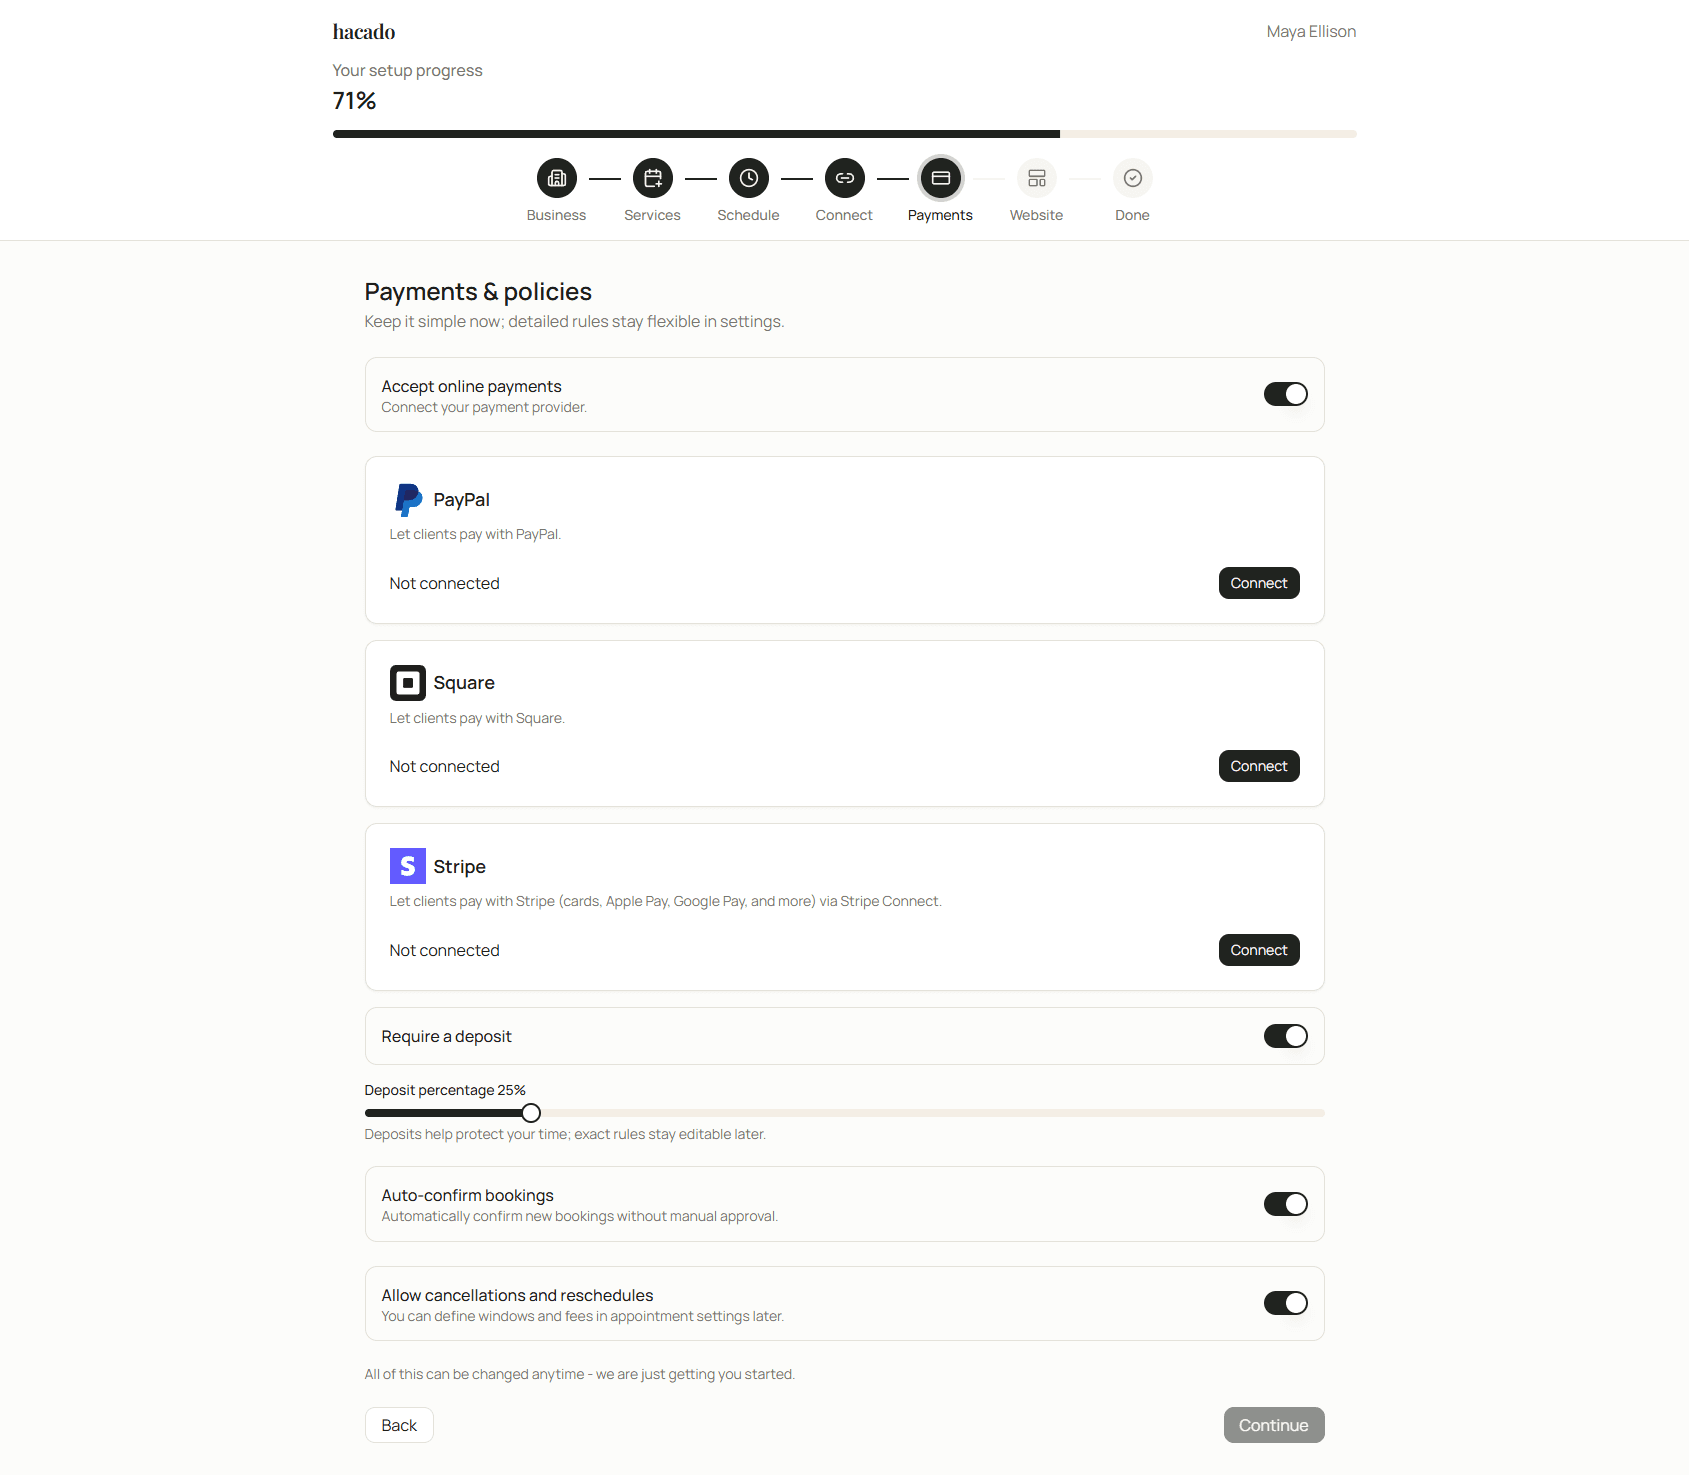
- Leave Accept online payments off if clients will pay you another way. Turn it on to connect PayPal, Square, or Stripe. You connect one. Continue stays off until one of them is connected. See PayPal, Square, and Stripe.
- With online payments on, Require a deposit appears. Turn it on to ask for part of the price up front, then set the percentage.
- Leave Auto-confirm bookings off if you want to approve each request yourself. Turn it on if a booking should be confirmed as soon as the client sends it.
- Allow cancellations and reschedules starts on, so clients can change a booking themselves. You can set time limits and fees later.
- Click Continue.
Website
Hacado gives you a starter website. You can change the words and pictures later.
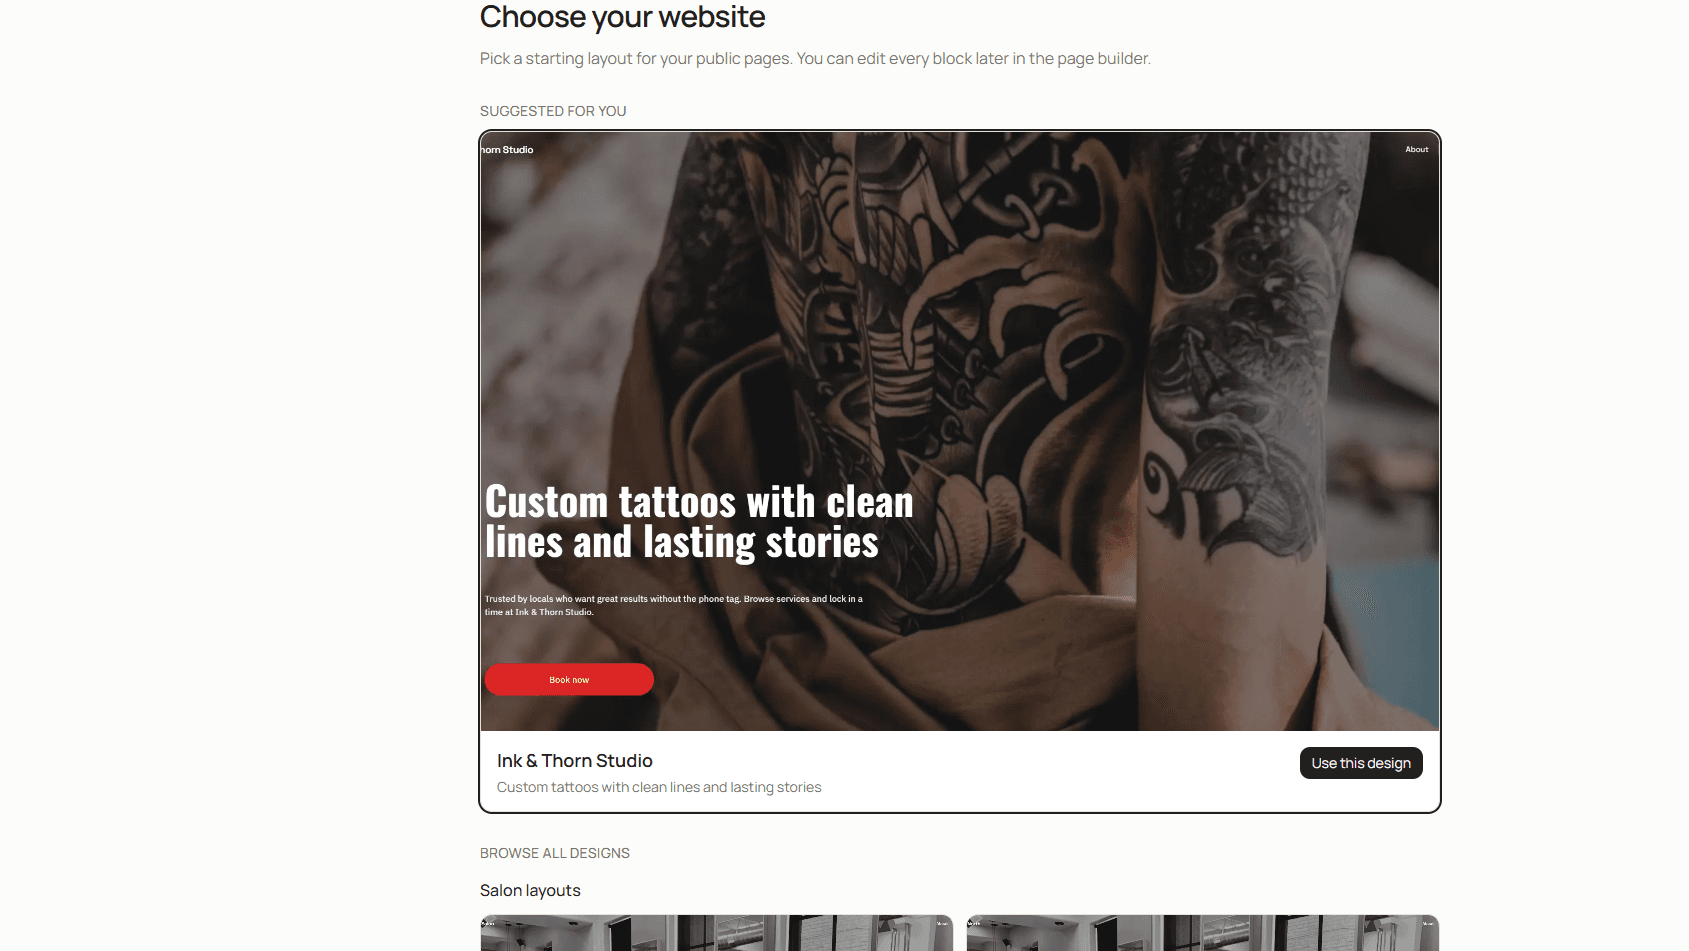
- Look at the layout under Suggested for you.
- If you want a different look, scroll to Browse all designs and open a group, such as photography or salon.
- Click Use this design on the layout you want.
- Click Finish setup.
Hacado then builds the page. Wait on this screen. A spinner is not the last step.
Done
Stop when you see Your Hacado is ready.
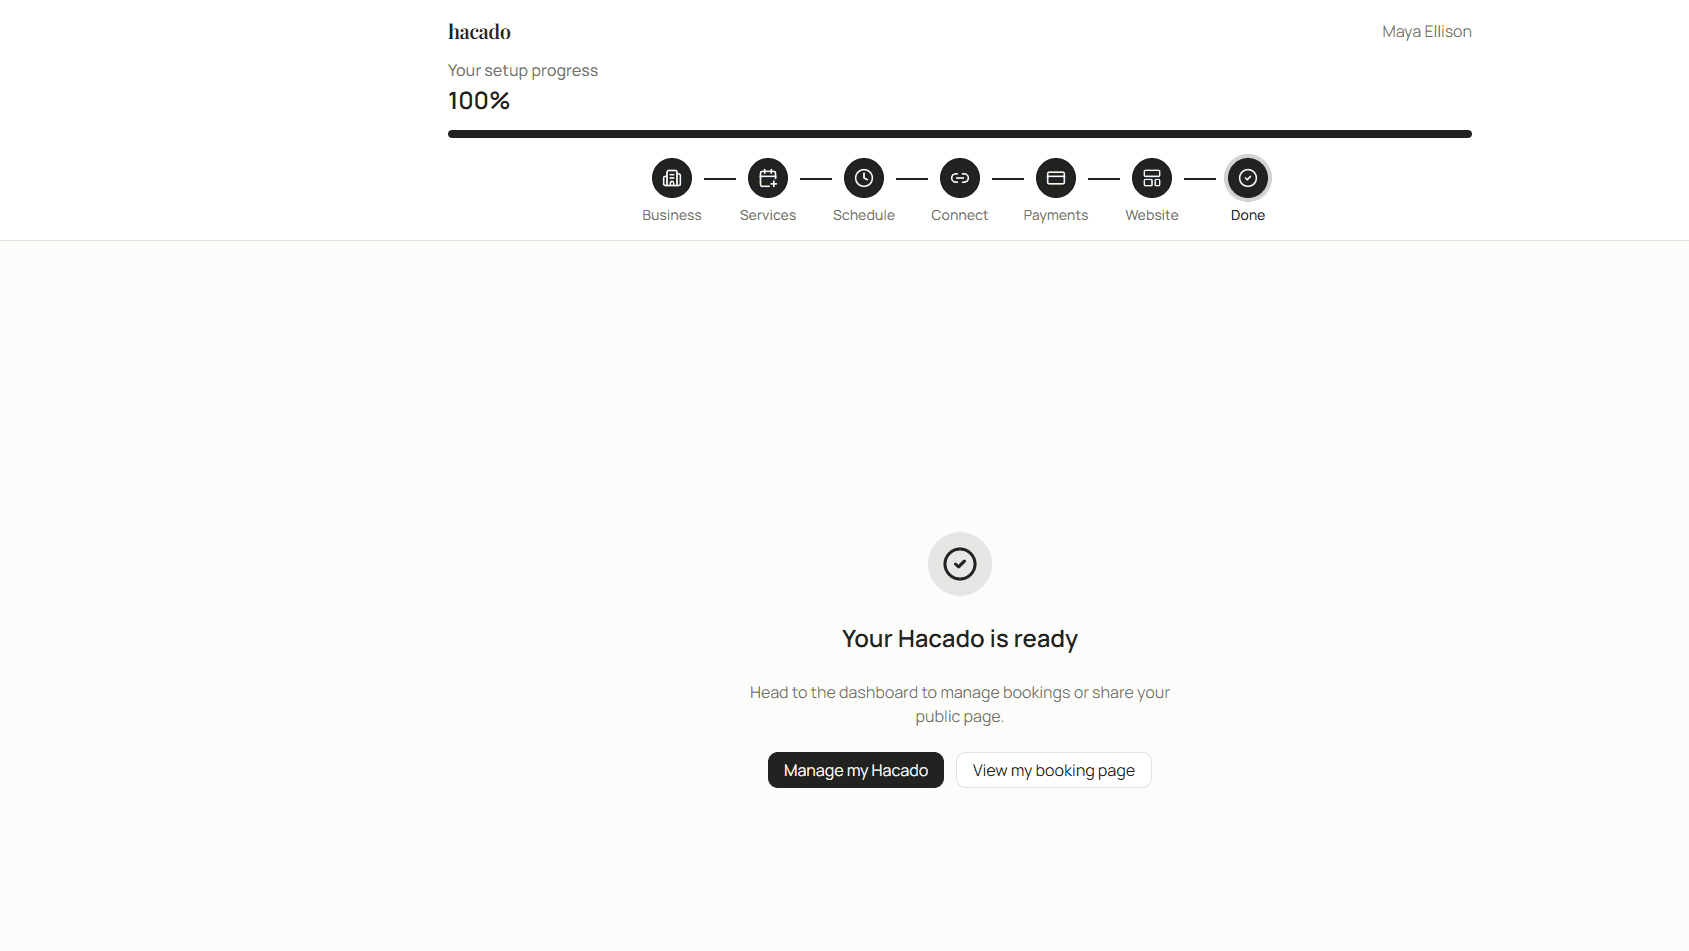
- Manage my Hacado opens the dashboard, where you run the business.
- View my booking page opens the page clients use to book.