Working with a customer
Open a customer from the list to manage their profile. The page title shows their name. Tabs under the title switch between details and history.
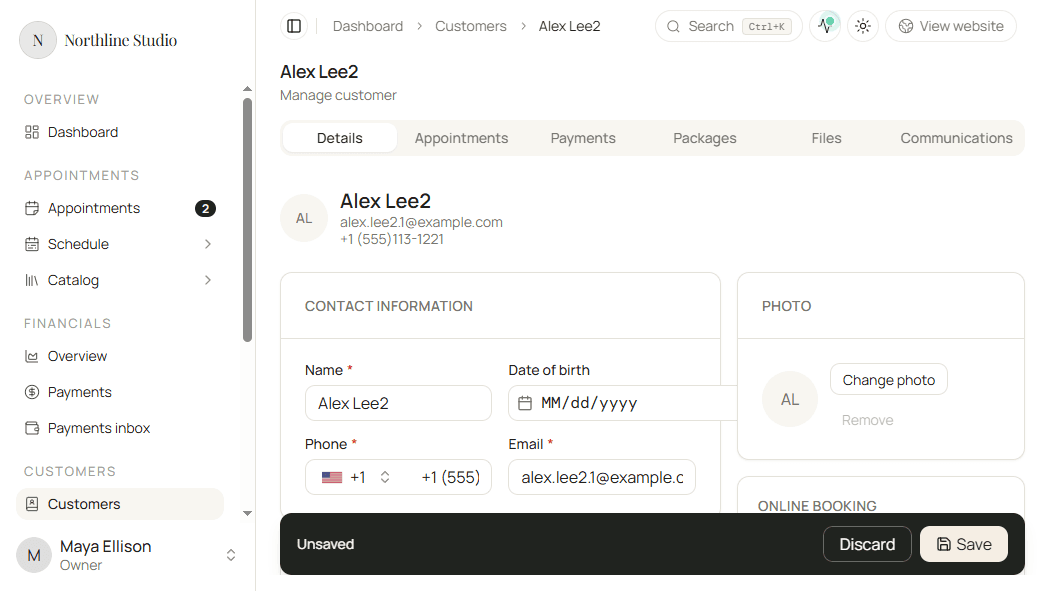
| Tab | What it is for |
|---|---|
| Details | Contact fields, deposit, notes, photo, online booking, SMS consent, also known as |
| Appointments | Every appointment for this customer |
| Payments | Payments linked to this customer (when payments are on your plan) |
| Packages | Sold packages they own (Solo+) |
| Files | Photos and documents stored on this customer |
| Communications | Emails and texts sent or received for this customer |
Connected apps can add extra tabs. Those appear after Communications when the app is installed.
Deleted customers stay readable for history but the form is read-only and header actions (schedule, add payment, upload, send) are hidden.
Details
Edit the same fields described in Creating a customer. Changes stay local until you click Save. Use Discard to drop unsaved edits.
Contact information
Update Name, Date of birth, Phone, and Email. Keep email and phone accurate so online bookings keep matching this profile. See How customers are created.
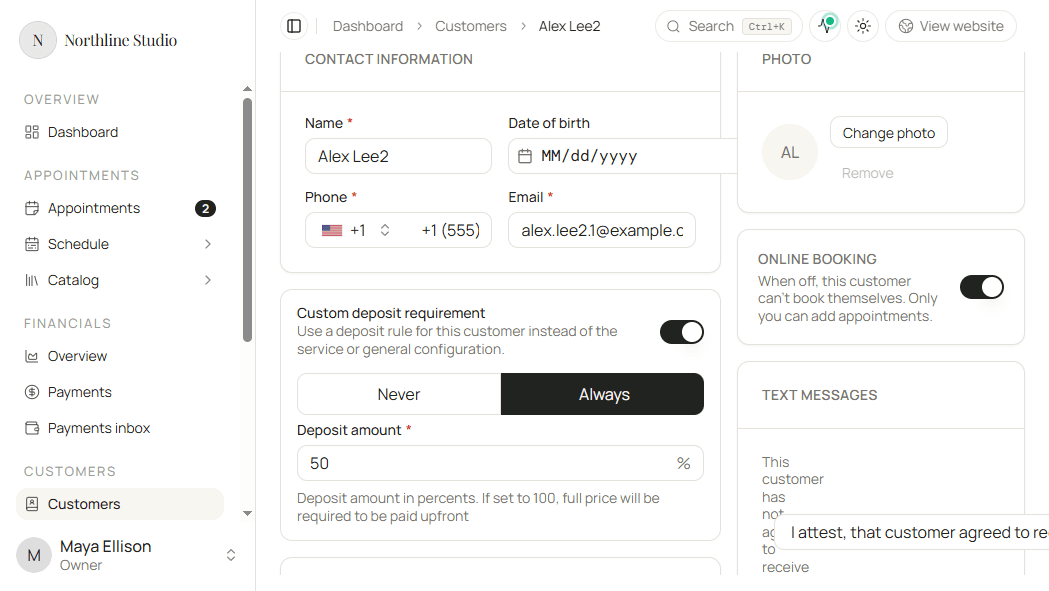
Custom deposit requirement
Override service/workspace deposit rules for this person only: Never, or Always with a Deposit amount percent.
Notes and photo
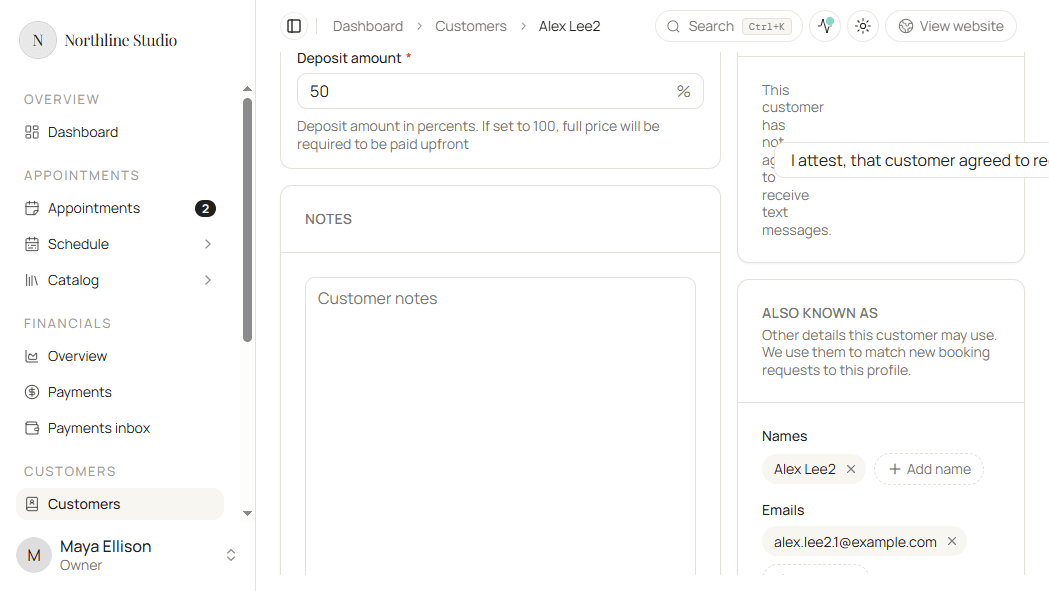
Notes stay internal. Photo uses Change photo / Remove.
Online booking
Turn Online booking off to stop self-serve bookings for this customer while still allowing staff-created appointments.
Text messages
Text messages shows whether this customer has agreed to receive texts.
- If they have not agreed: use I attest, that customer agreed to receive text messages when you have consent (for example they opted in on booking or told you in person).
- If they already consented: you can Revoke consent when they ask to stop.
- Without a phone number, add a phone on the form first.
Also known as
Store alternate Names, Emails, and Phones used for matching.
Appointments
Lists appointments for this customer only. Filter by Status, date range, team member, discount, or package (when those filters apply on your plan).
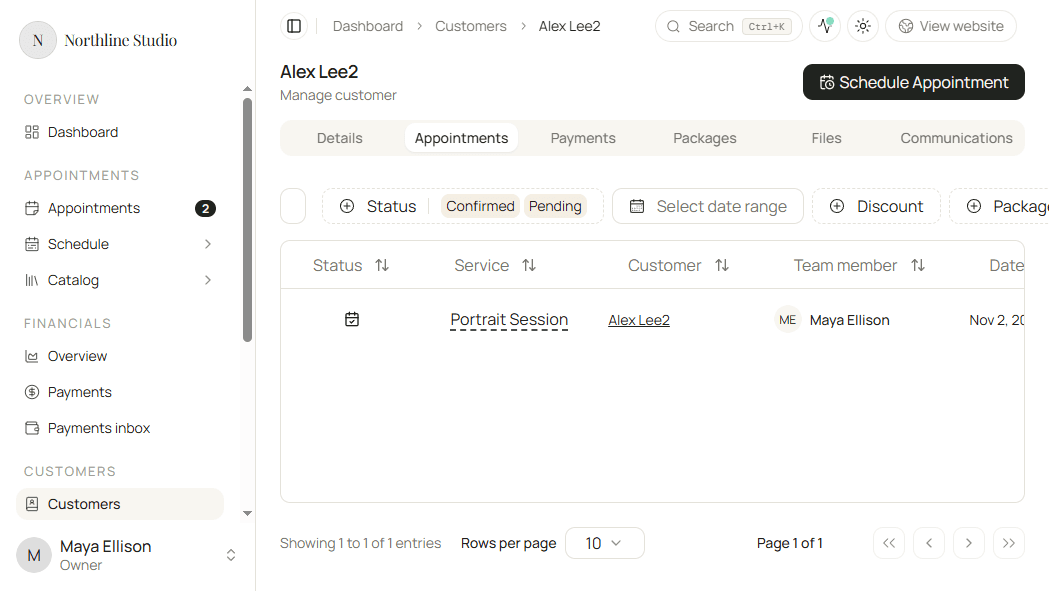
- Click Schedule Appointment (header) to create a new booking already scoped to this customer.
- Click a service name or row to open the appointment.
Empty state: No results found.
Payments
Available when payments are on your plan. Shows payment rows for this customer with filters for Type, Method, Status, Appointment, and date range.
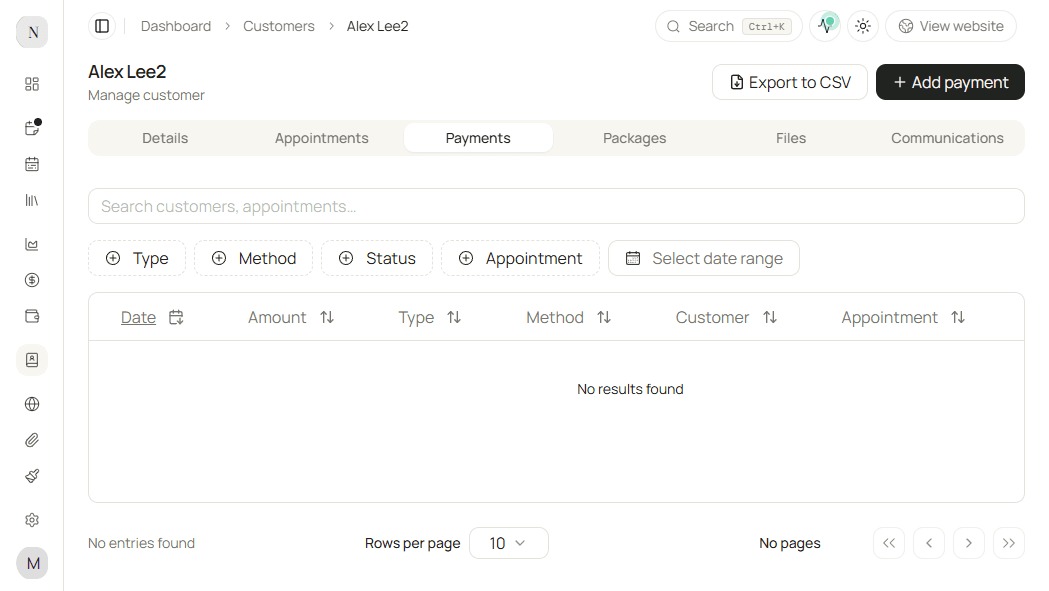
- Click Add payment in the header to record a payment for this customer.
- Click Export to CSV in the header when you need a spreadsheet of the current filters.
- Open a row to see payment detail when results exist.
Empty state: No results found.
Packages
Available on Solo+ when packages are enabled. Shows sold packages for this customer as cards (status, remaining and used credits).
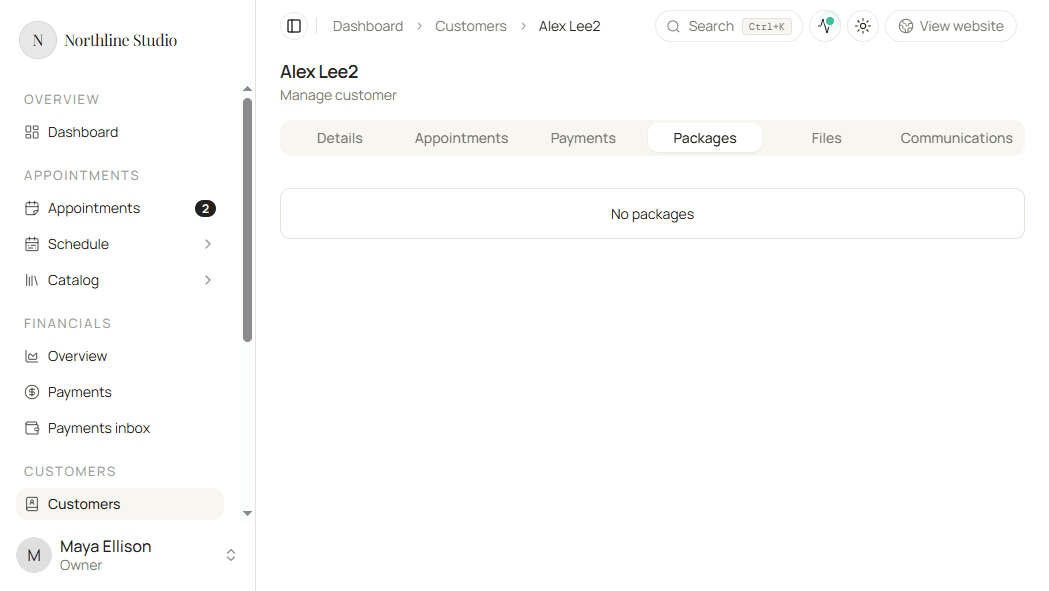
From a package card you can typically:
- View appointments linked to the package
- Schedule appointment when credits remain
- Adjust used credits, Reactivate package, or Cancel package when those actions apply
Empty state: No packages.
For selling and managing packages broadly, see Sold packages.
Files
Store release forms, inspiration photos, and other assets on the customer.
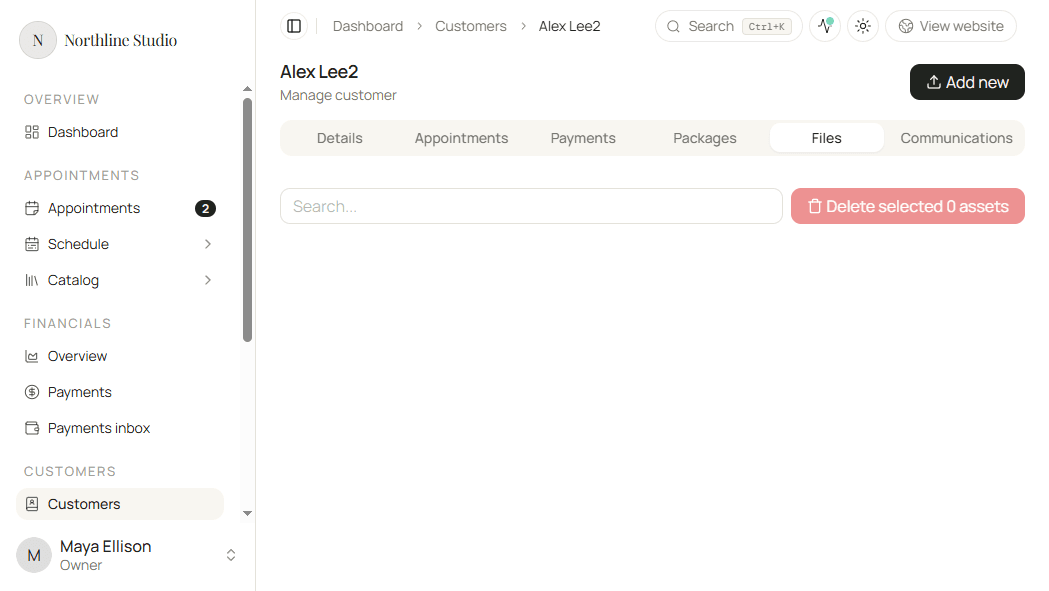
- Click Add New to open Upload files.
- Drop files (up to 10 at a time), optionally set a File description, then Upload.
- Use search to find files; select rows and Delete selected when you have permission.
Communications
Shows recent email and text activity for this customer. Filter by Direction (Outbound / Inbound), Channel (Email / Text message), status, and date range.
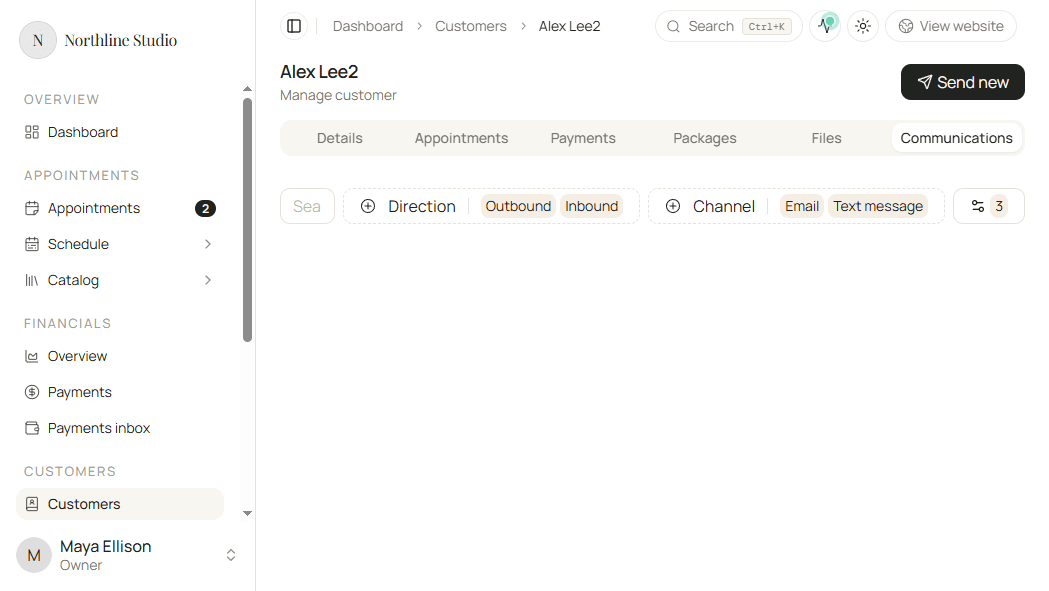
- Click Send new to open the send dialog and message this customer.
- Open a card’s View more when you need the full log entry.